Creating a CMP for output to the admin panel

Last updated Jan 29th, 2023 | Page history | Improve this page | Report an issue
In the last article I explained how you can create your component using MIGX. Now I will show how you can create and edit data in the admin panel.
Who does not know what it is about, link to first article.
In fact, creating your own page is essentially no different from creating the usual MIGX TV.
Go to the tab MIGX:
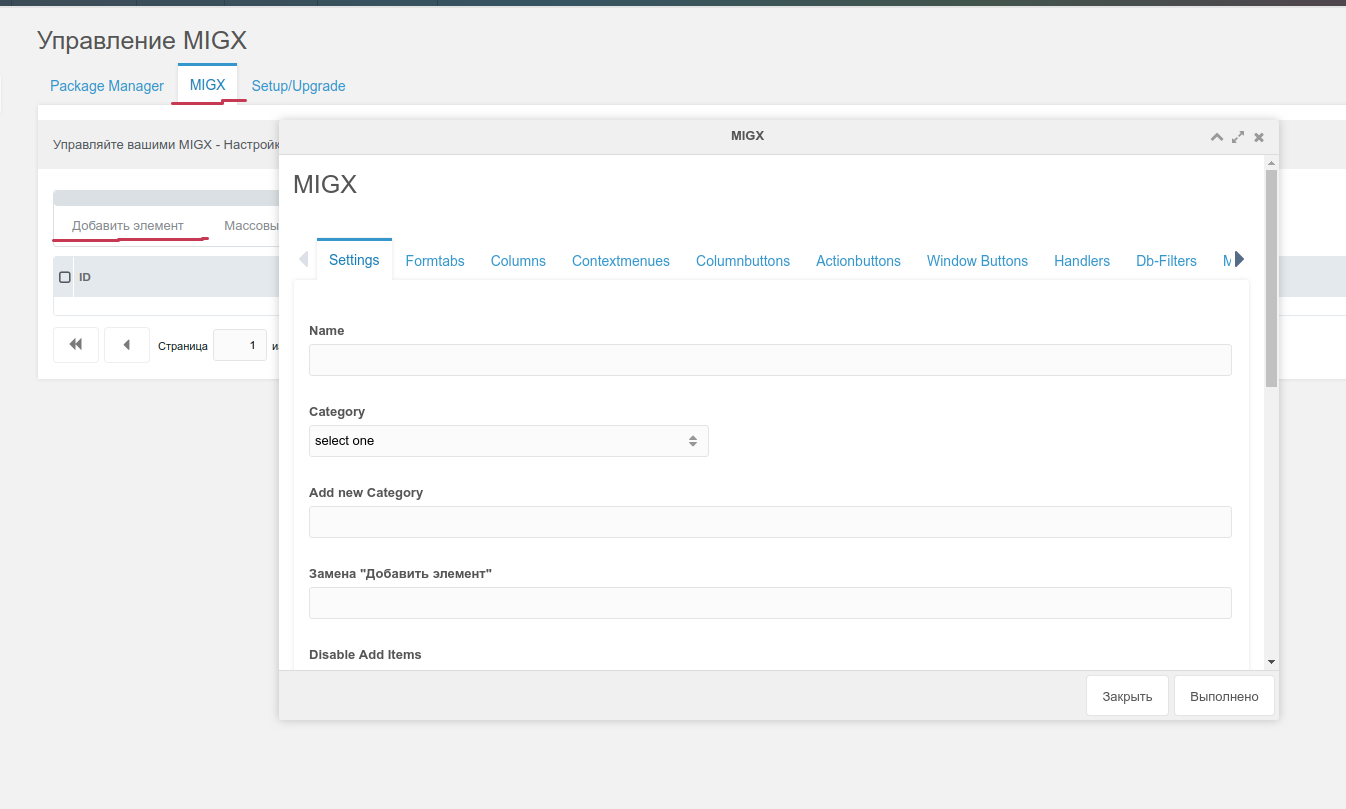
Fill:
Name: electrica Add item replacement: Create string unique MIGX ID: electrica
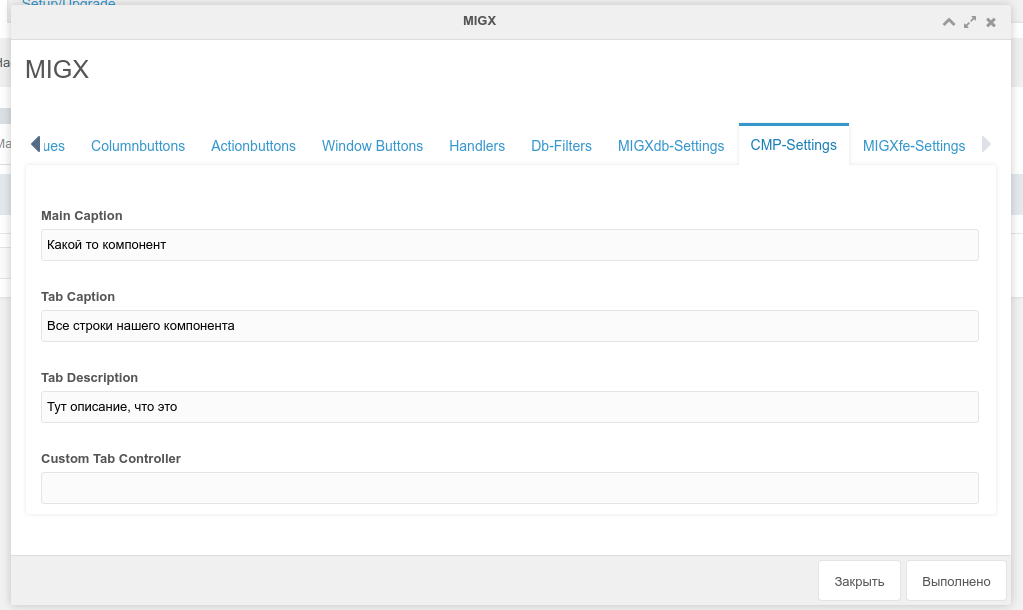
Then open the CMP-Settings tab and fill in:
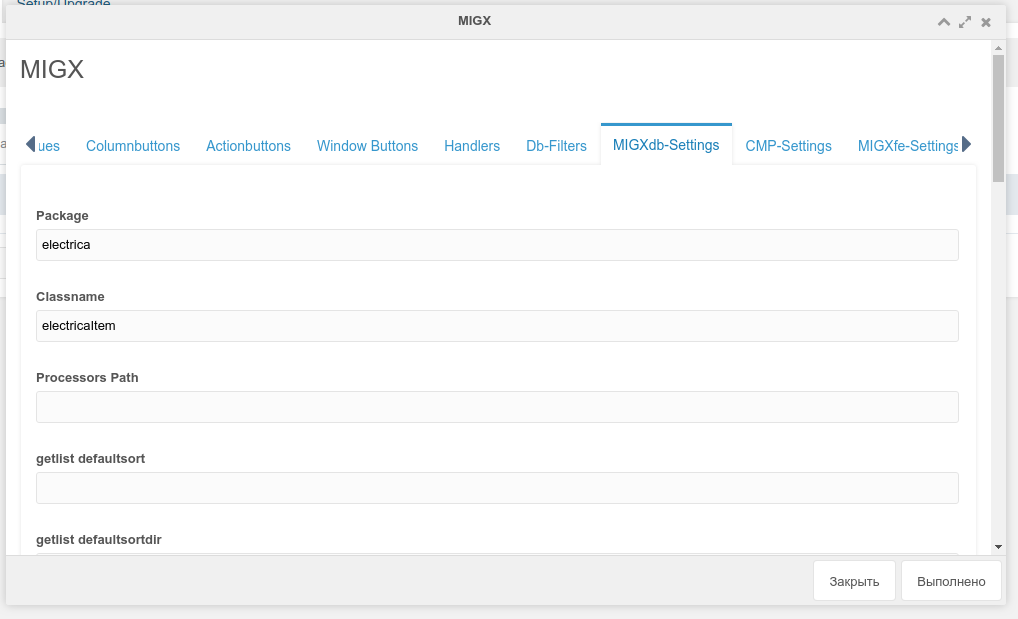
Then go to the tab MIGXdb-Settings and fill package (package name with XML markup) and Classname:
Push Save.
Then go to settings - Menu. Create found menu:
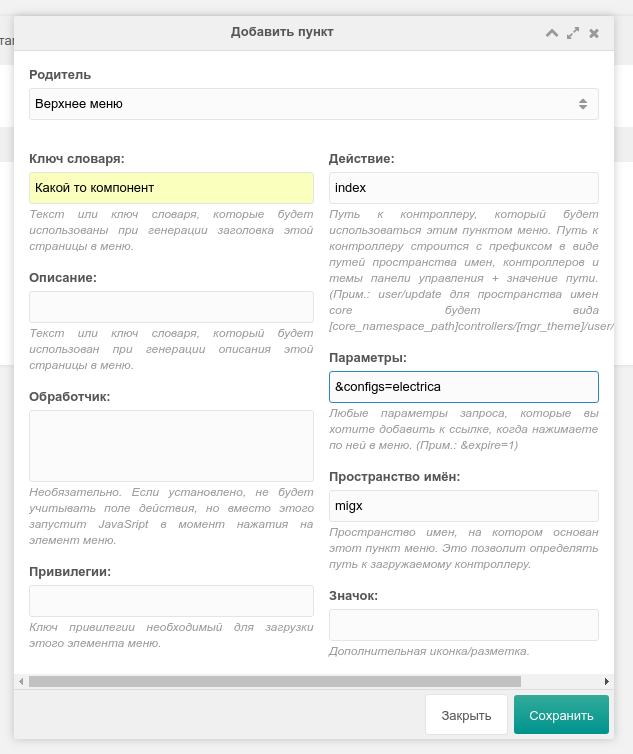
In the parameters we write your customization of your component, as you called it.
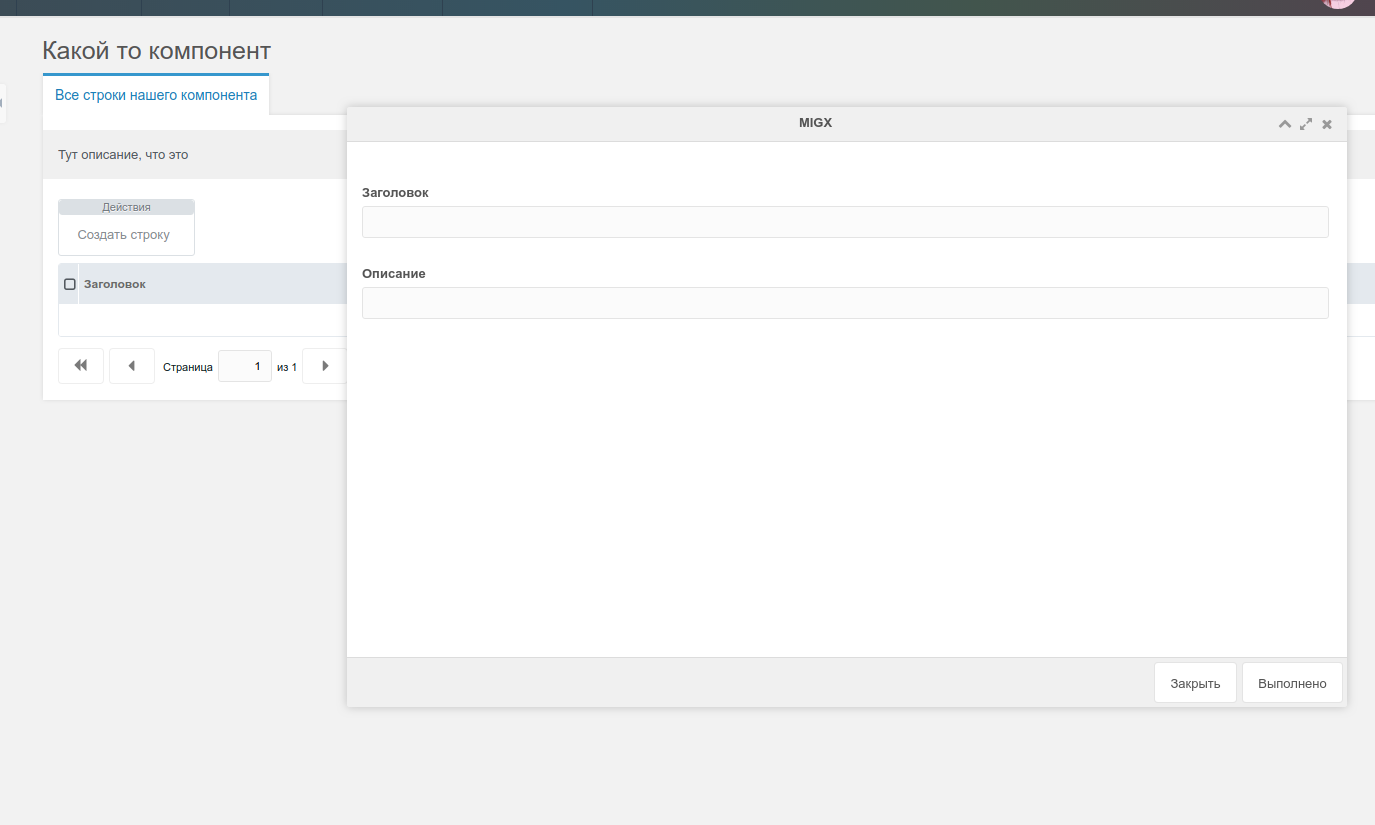
Well, that's all, we can now open it:

We continue to display all our fields.
Editing our MIGX configuration, adding a contextmenus:

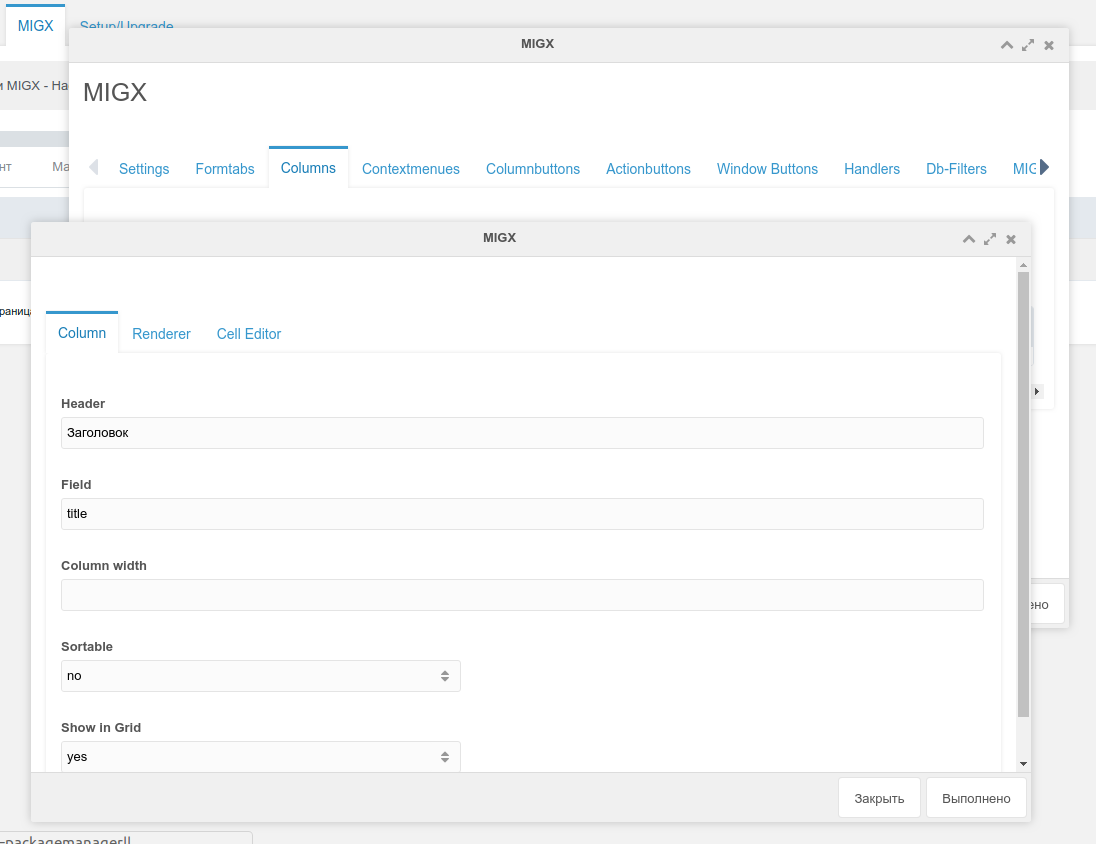
In the tab Columns fill in our fields:
IMPORTANT!!! In the columns you need to create the id field, otherwise you will not be able to edit the data
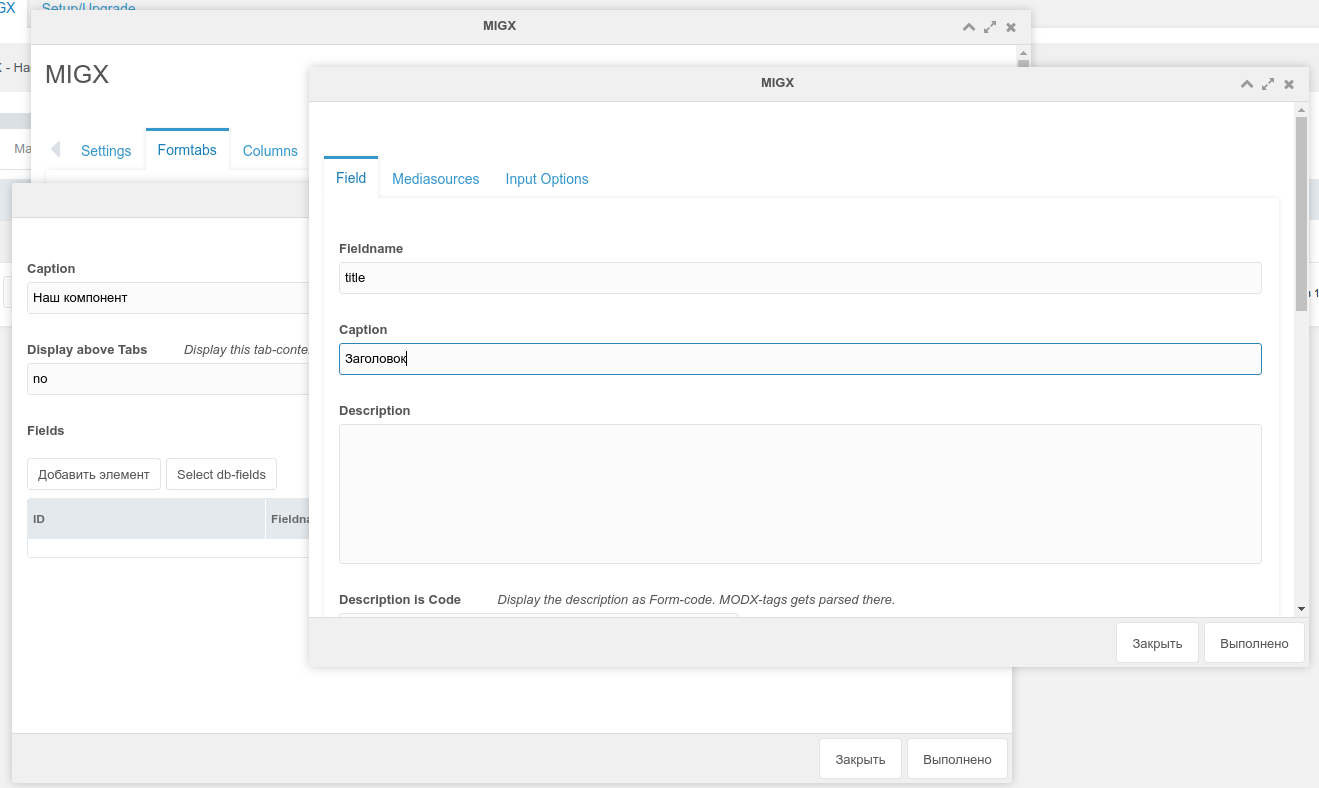
In the Formtabs tab, fill in our fields:
That's all!
Well, the output on the front has already been described in previous article. Create a snippet and make the selection or sampling we need.
Well, or you can use snippet:
[[!migxLoopCollection?
    &packageName=`electrica`
    &classname=`electricaItem`
    &tpl=`testTPL`
]]
Chunk:
<h1>[[+title]]</h1>
<p>[[+description]]</p>
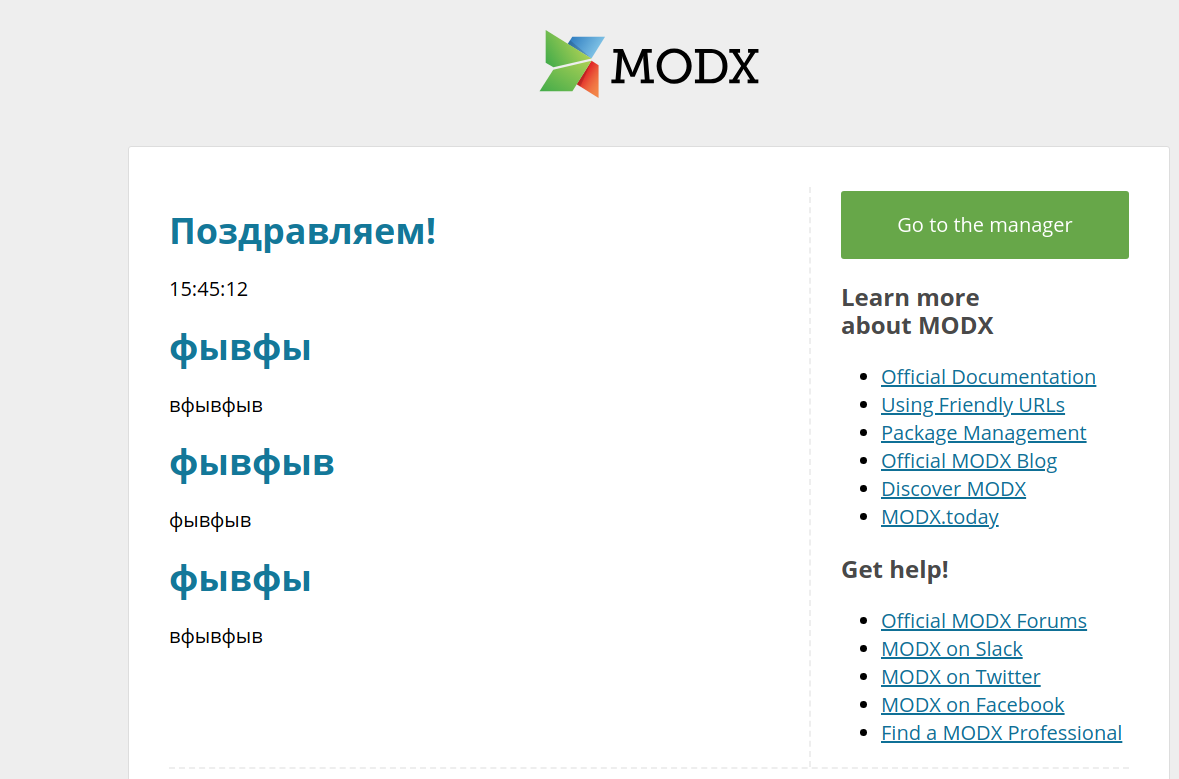
And that's what we got:
Support the team building MODX with a monthly donation.
The budget raised through OpenCollective is transparent, including payouts, and any contributor can apply to be paid for their work on MODX.
Backers


Budget
$289 per month—let's make that $500!
Learn more