Custom Manager Pages in 2.3


Last updated Nov 28th, 2019 | Page history | Improve this page | Report an issue
Support the team building MODX with a monthly donation.
The budget raised through OpenCollective is transparent, including payouts, and any contributor can apply to be paid for their work on MODX.
Backers
Budget
$0 per month—let's make that $500!
Learn moreCreating MODX custom manager pages (CMPs) is far simpler in MODX Revolution 2.3 - you simply have to set a Namespace path, and then create PHP files. That's it.
Setting the Namespace Path
First off, we'll create a Namespace (Settings > Namespaces) called "mycmp", and set its path to "{core_path}components/mycmp/". Set its Assets Path to "{assets_path}components/mycmp/" as well.
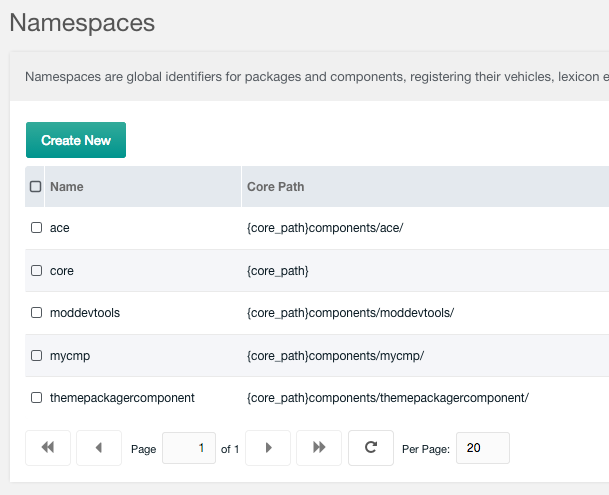
You can avoid some problems if you make your namespace and your action all lowercase with only alphanumeric characters (no spaces, hyphens, or underscores). Your namespace should be a lowercase version of the name of your CMP.
Creating the Menu
Now we'll need a Menu item to link to for our CMP. Go to System -> Top Menu, and create a Menu item under the "Apps" menu item that looks like this:
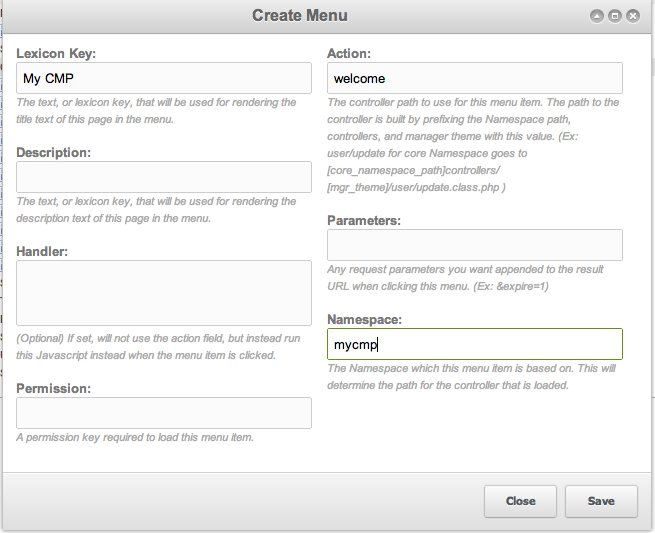
As you can see, we're specifying the Namespace as "mycmp", and then the Action as "welcome". This means our default controller will be the "welcome" controller.
Creating the Controller File
Next, we'll go create the Controller file at {core_path}components/mycmp/controllers/default/welcome.class.php file. Why the "controllers/default/welcome.class.php" path? Well, MODX automatically looks in the "controllers/" directory for your controllers. Secondly, "default" here is the current Manager Theme (so you could make different controllers for different manager themes), so we're creating it in default. And finally, "welcome.class.php" is the name that corresponds to our "welcome" action we put in the menu above. If we had set the Action of the Menu to "home", we would be making a "home.class.php" file instead.
Now, on to the file contents:
<?php
class MycmpWelcomeManagerController extends modExtraManagerController {
    public function process(array $scriptProperties = array()) {}
    public function getPageTitle() {
        return 'My Test CMP';
    }
    public function getTemplateFile() {
        return 'welcome.tpl';
    }
}
As you can see here, we're not doing any business logic, so we don't need to do anything in the process() method. We go ahead and set a page title for this CMP, and then tell MODX where to find our corresponding template file for this CMP. Note that your class name should begin with the name of your CMP followed by the corresponding action and that your namespace should be a lowercase version of the name of your CMP.
Creating the Template File
MODX uses Smarty templates for CMP pages. It will automatically look for them in the [namespace-path]templates/ directory for you, so all you have to do is tell it in your controller what file in that directory to look for (you can specify subdirectories here too). Create a file at: {core_path}components/mycmp/templates/default/welcome.tpl
Let's make the content simple:
<div class="container">
<h2>Welcome!</h2>
</div>
A simple h2, with a wrapping div that adds some padding. And that will display this on our CMP:
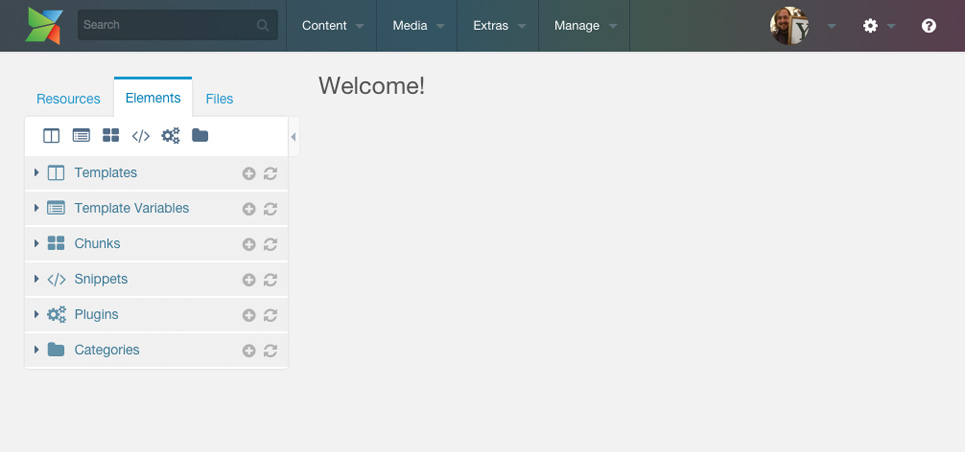
We're Finished!
That's it! That's all you need to start making CMPs in MODX 2.3. You can see that our CMP is now accessible via /url/to/modx/manager/?action=welcome&namespace=mycmp - which is much neater than the ID-based actions of 2.2 and earlier.
There's obviously more API methods that you can override in modExtraManagerController in your PHP controller class, and then you can use MODExt and such in your actual CMP to make powerful pages, but that's beyond the scope of this tutorial.
Support the team building MODX with a monthly donation.
The budget raised through OpenCollective is transparent, including payouts, and any contributor can apply to be paid for their work on MODX.
Backers
Budget
$0 per month—let's make that $500!
Learn more