Customize the workplace: MODXCloud + PhpStorm

Last updated May 23rd, 2019 | Page history | Improve this page | Report an issue
Support the team building MODX with a monthly donation.
The budget raised through OpenCollective is transparent, including payouts, and any contributor can apply to be paid for their work on MODX.
Backers


Budget
$248 per month—let's make that $500!
Learn moreFor development we need a good environment. Personally, I use the local Nginx + Php5-fpm + Mysql web server on MacOS X, but this is far from the usual configuration.
It is much easier and more accessible to use any hosting service with access to the site via SFTP. It doesn't matter which one: shared, vps or cloud.
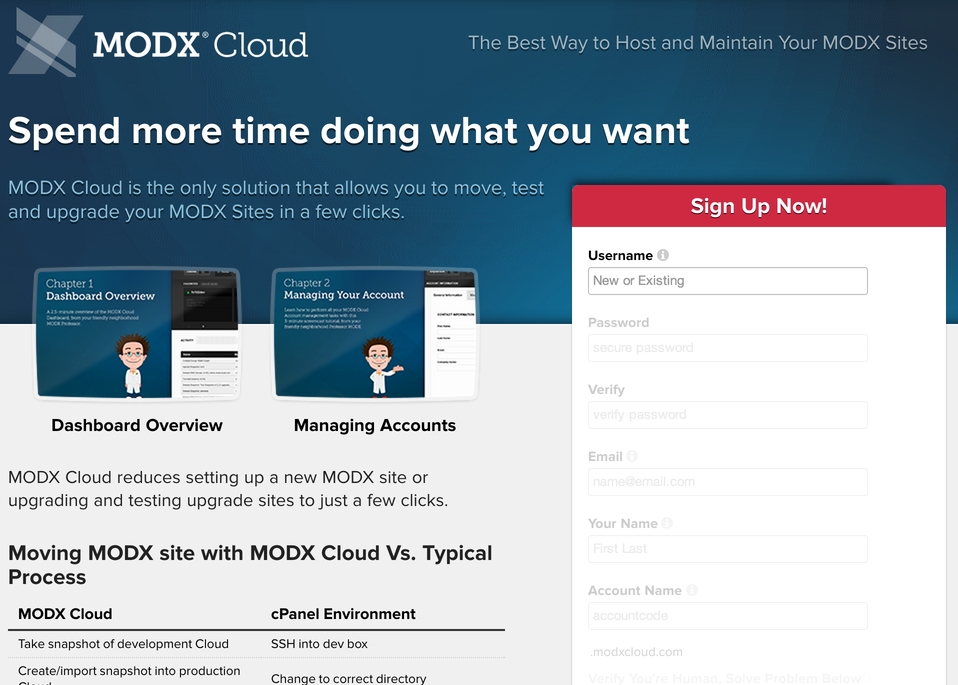
Specifically for our task, in order to make the working environment as uniform as possible and accessible to all participants in the training, we will use free account on MODXCloud and 30 day trial IDE PhpStorm.
Register and configure MODXCloud
It's all easier nowhere. Register, go, create a cloud.
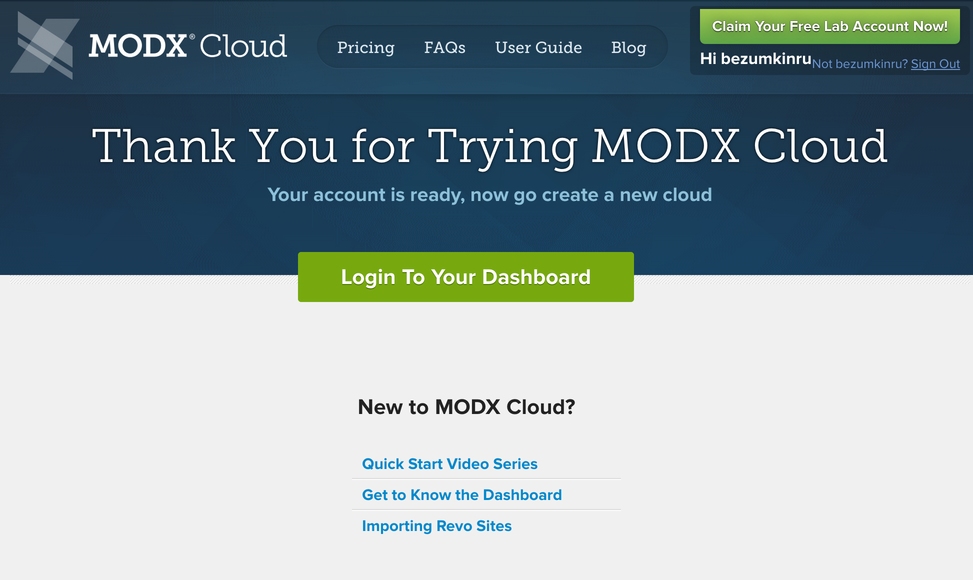
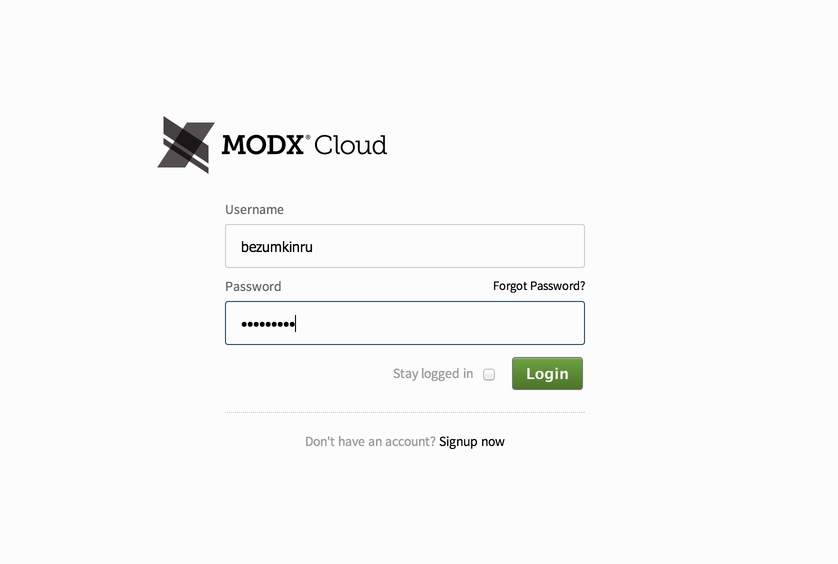
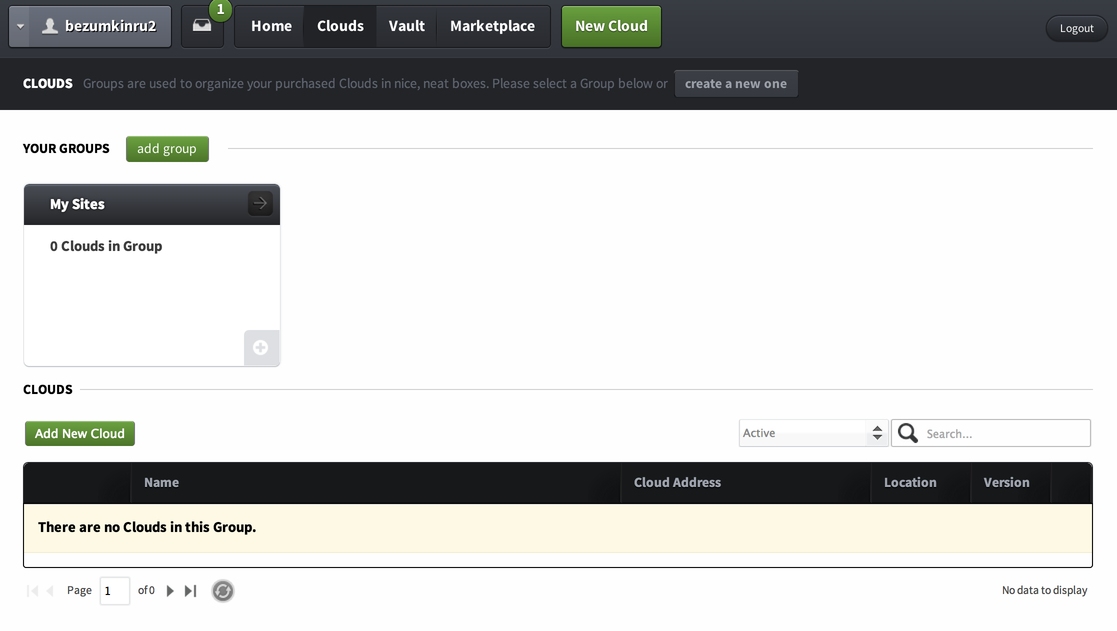
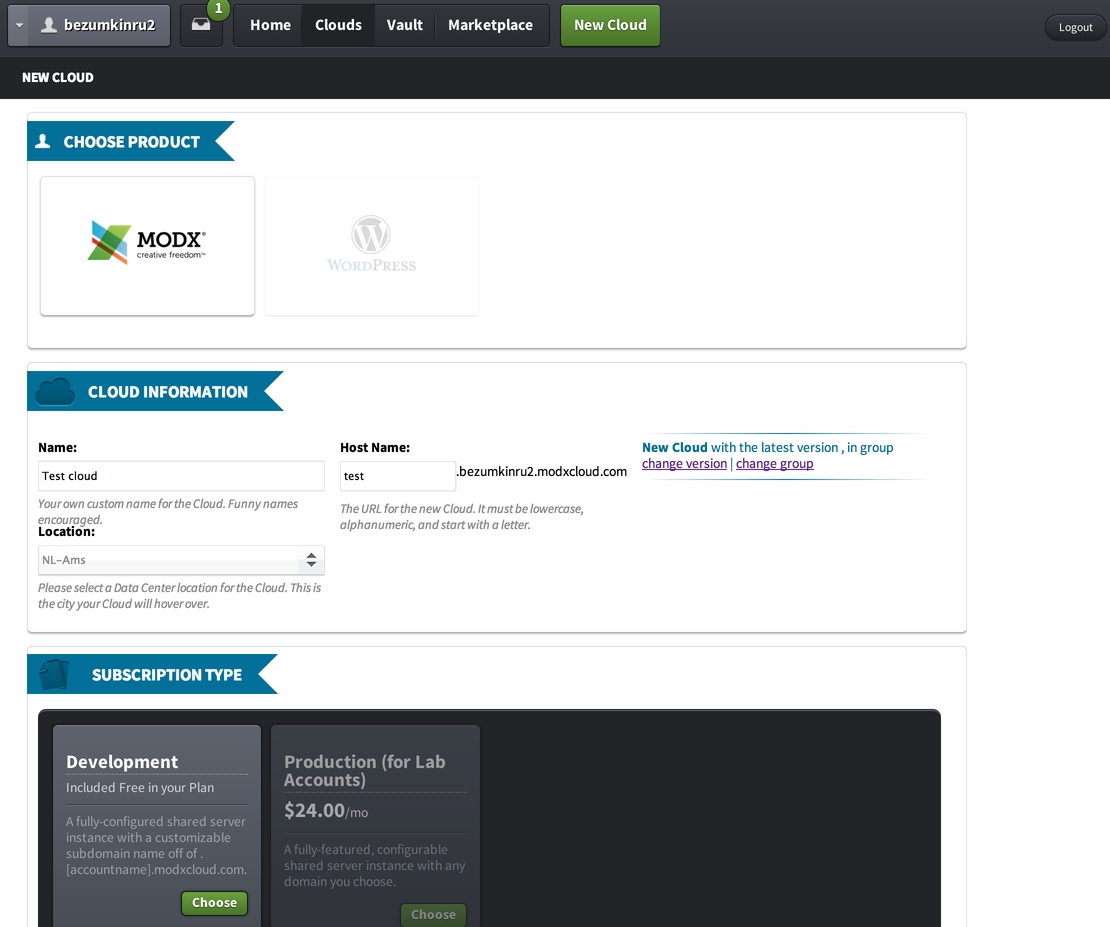
After entering, click Clouds in the top menu, then Add new cloud, fill in the required fields, select the tariff plan Development and click Complete Cloud Creation.
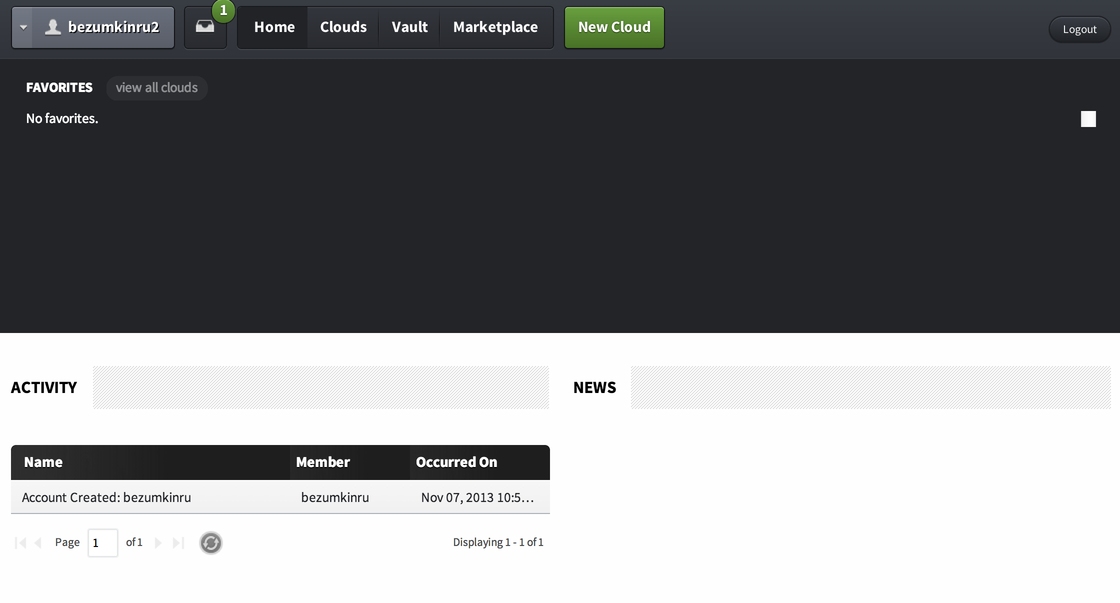
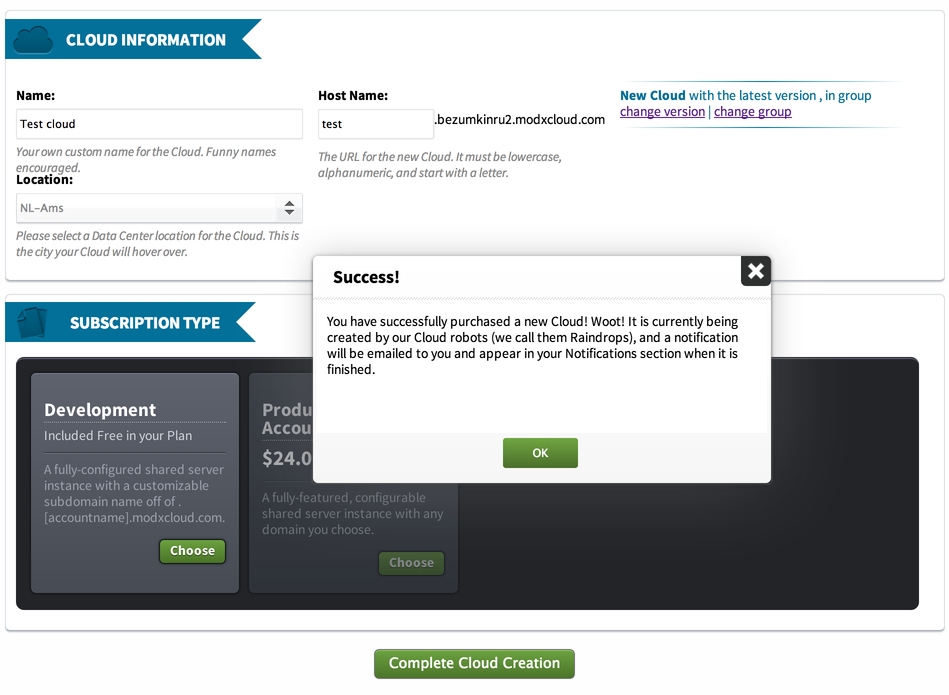
Next we wait about 5 minutes until a new cloud is ready. You will see a new notification at the top of the screen and a cloud will appear in the list. We go into it, and at the very bottom we see access via SFTP - we need it.
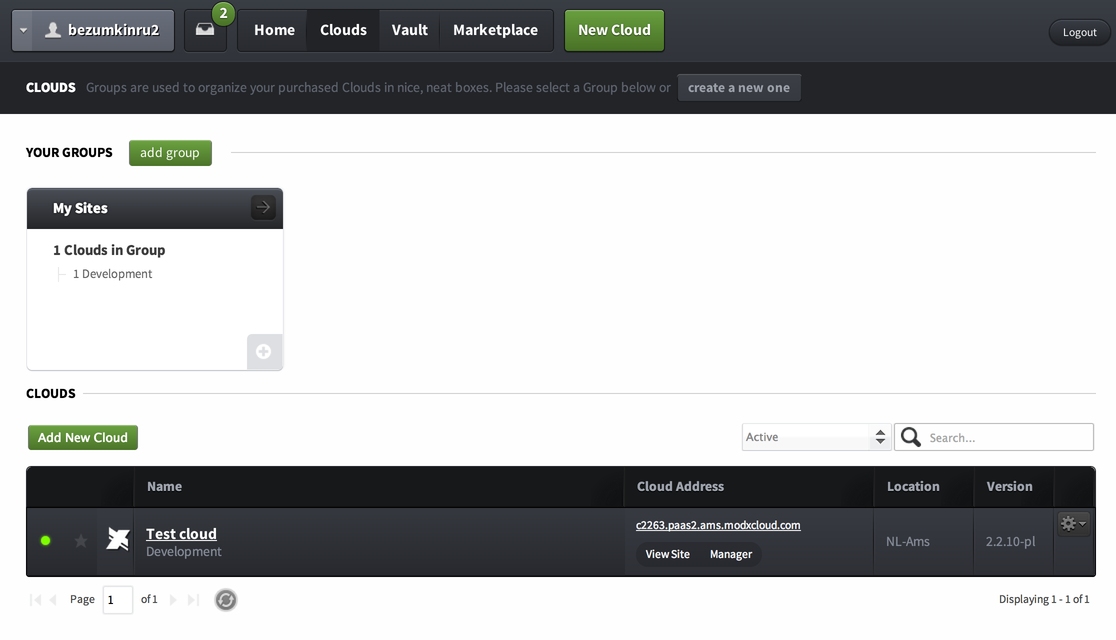
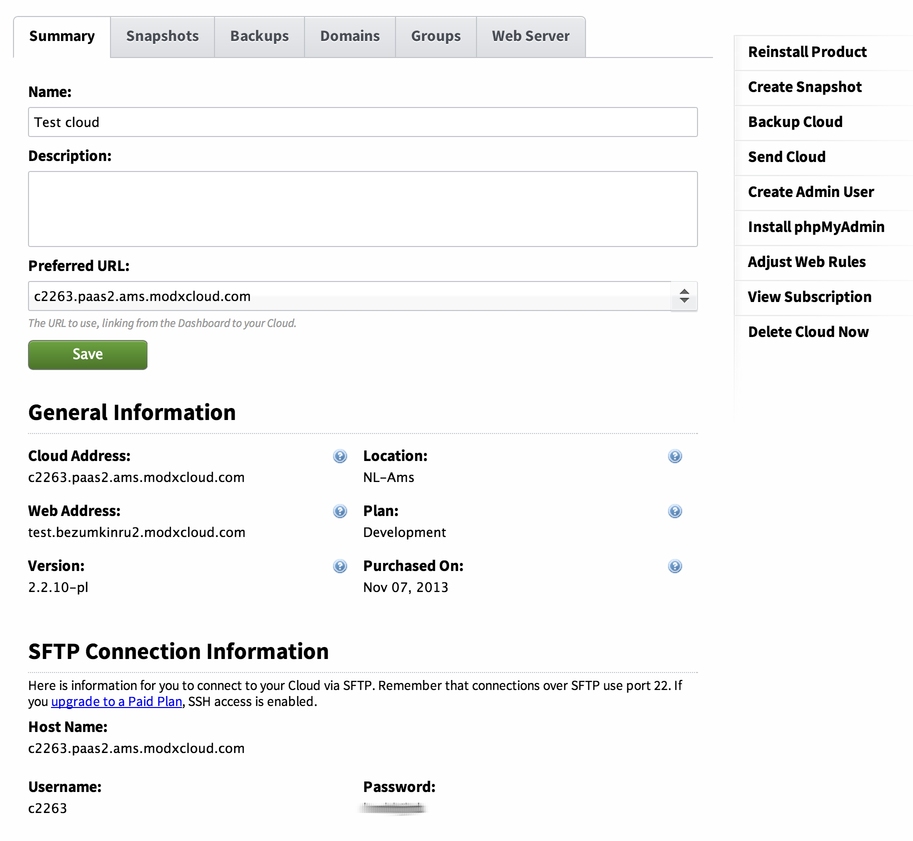
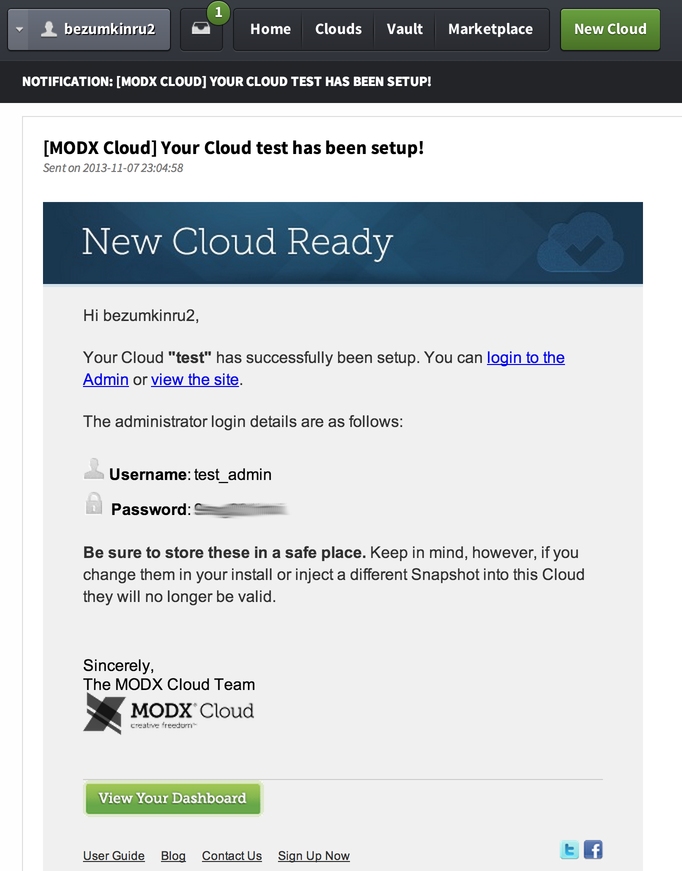
That's the whole hosting setup. The data for entering the site is in your notification box:
Setting PhpStorm
Downloading and install PhpStorm. Most likely, you will also need to download Java 7, he should say about it himself.
We get a trial version without functionality limitations for 30 days. This is quite enough to go through the whole course and decide whether you need to buy this excellent IDE, or if you should look for free analogues. Personally, I bought it at last Christmas sale, it seems, for $ 25. Hopefully, this year we will be pleased with all of us - because we need to renew the license =)
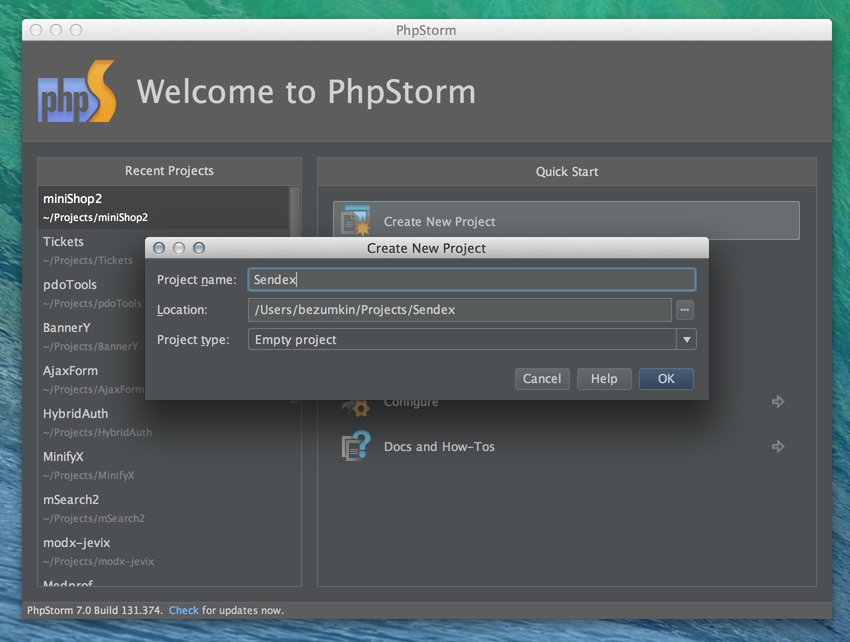
We start IDE, we create the new project Sendex.
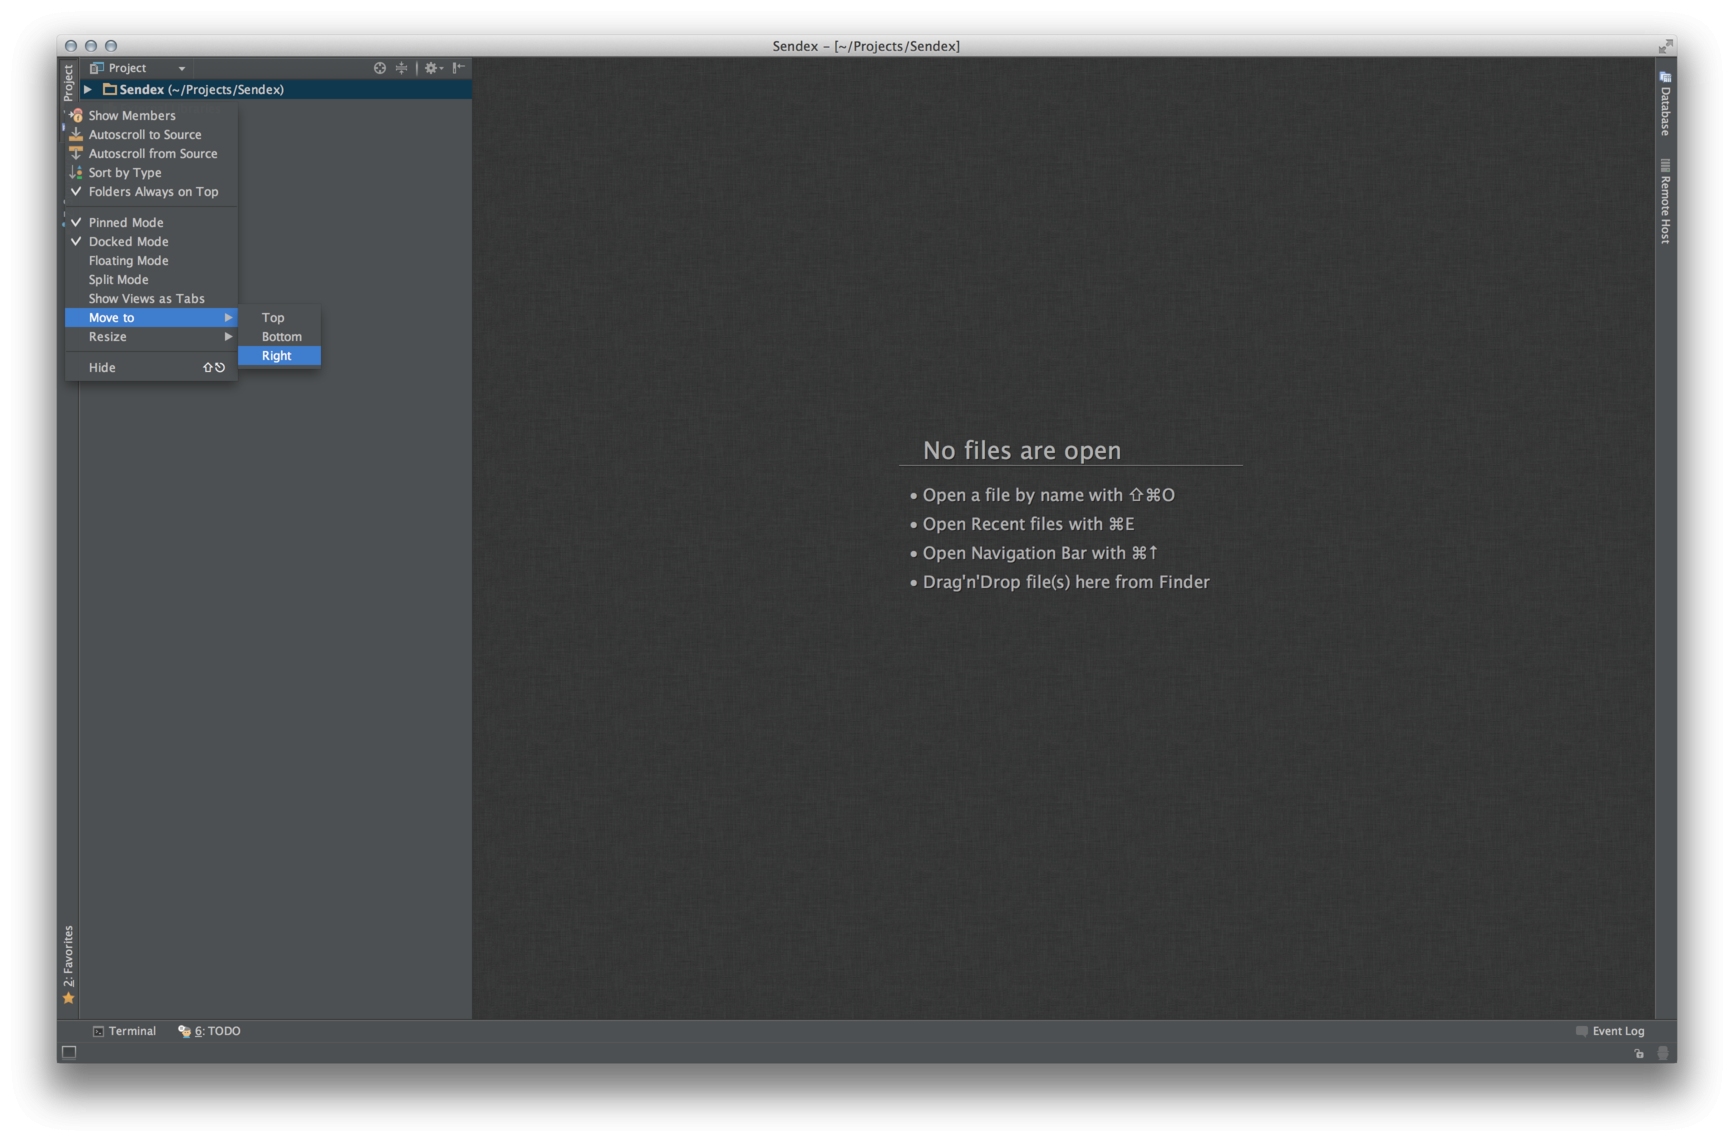
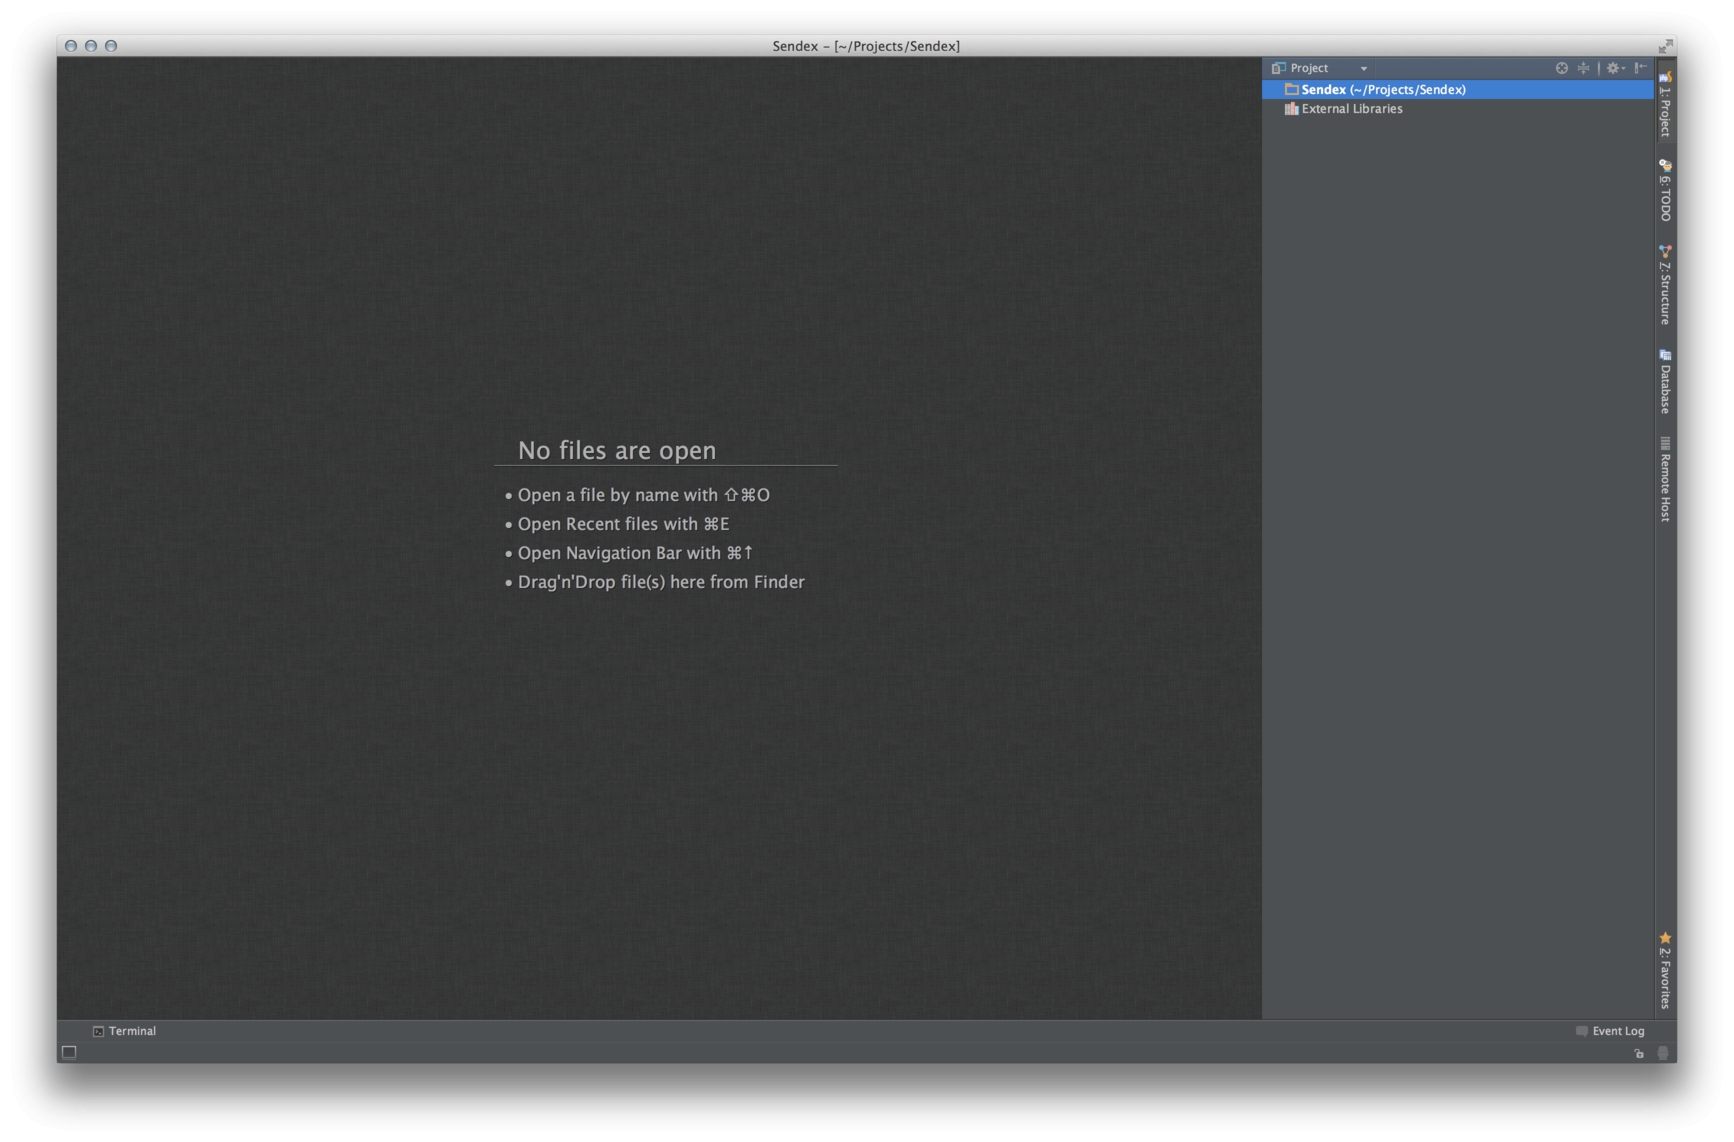
Personally, I move all the panels to the right, because I'm right-handed and it’s more convenient for me to climb to them. It is very easy to do this - through the context menu.
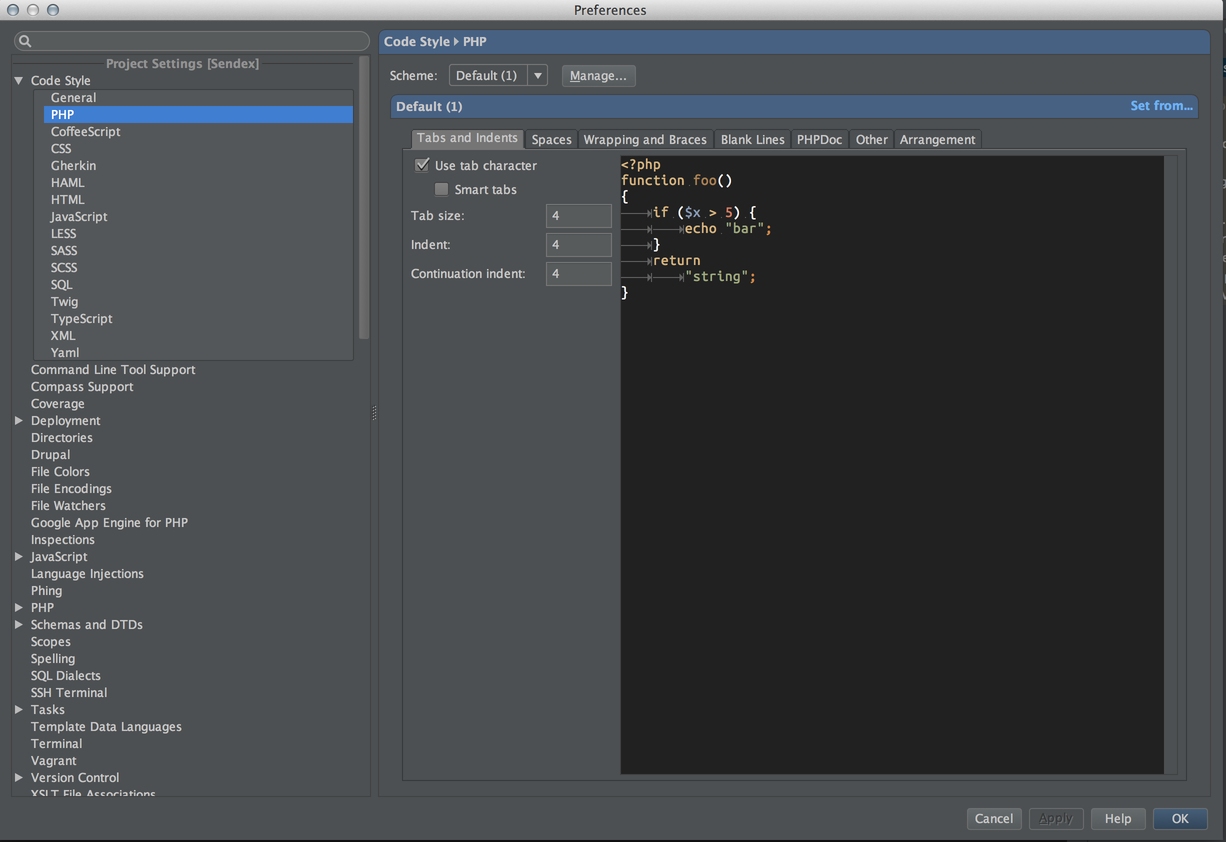
I use the Twilight theme with fonts for decoration Ubuntu Mono, almost all the default settings. The code style is standard, with one change - real, not smart, tabulation. The ancient holivar "tabs vs spaces" I decided for myself simply - tabs.
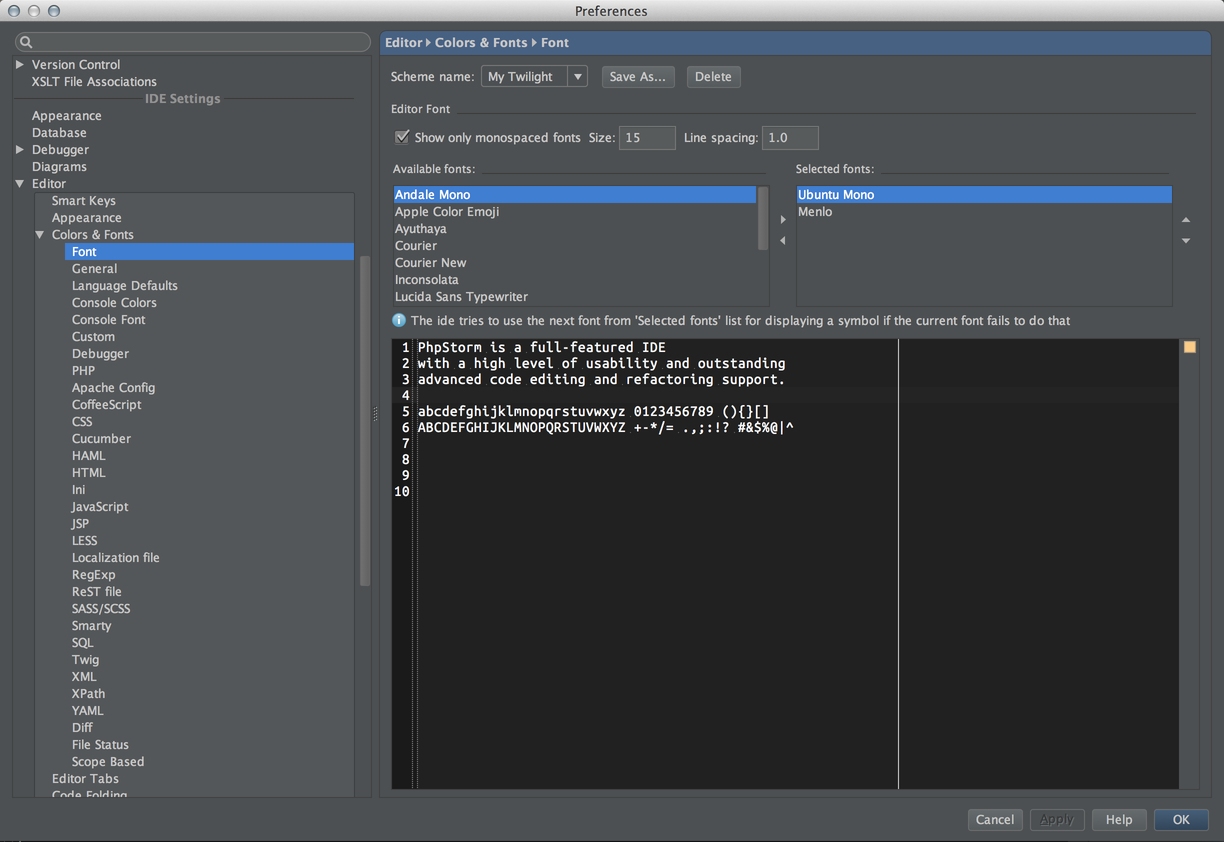
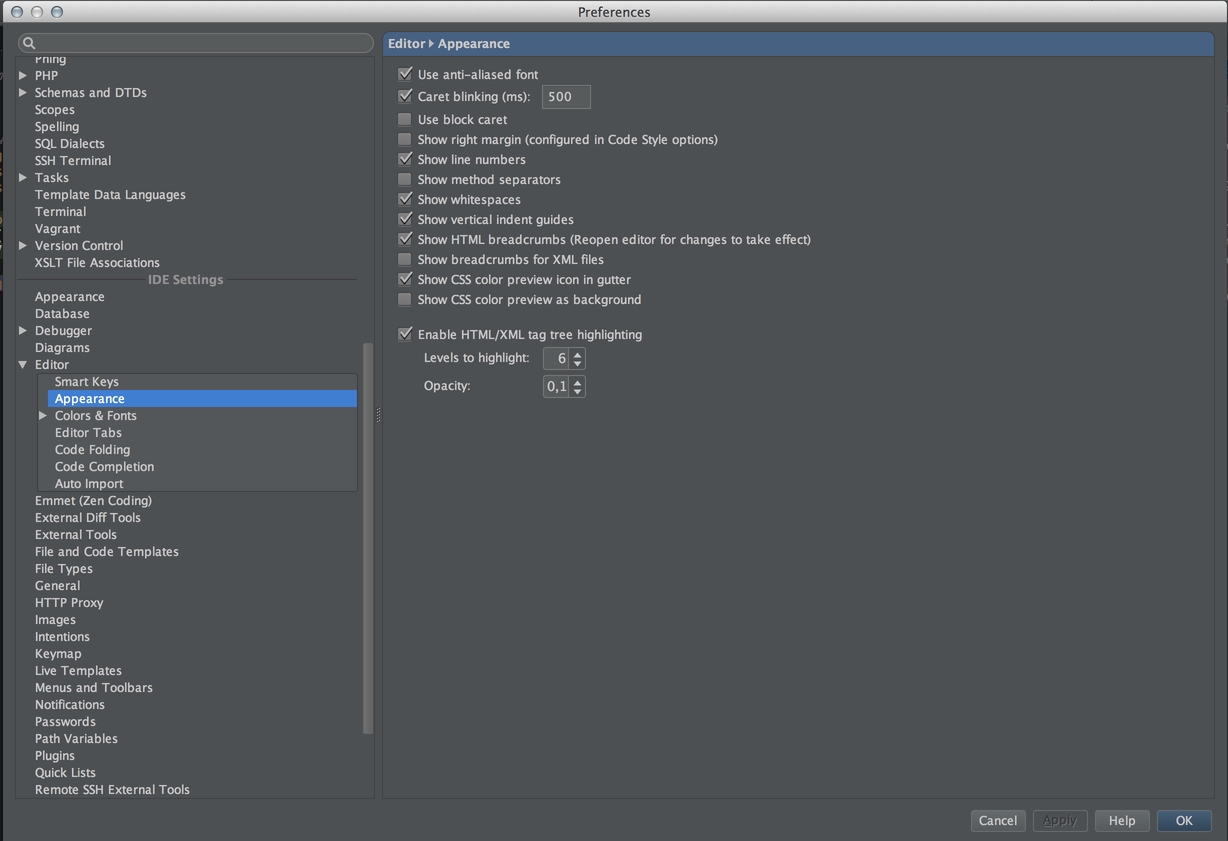
If anyone is interested - here is export my settings, you can import yourself.
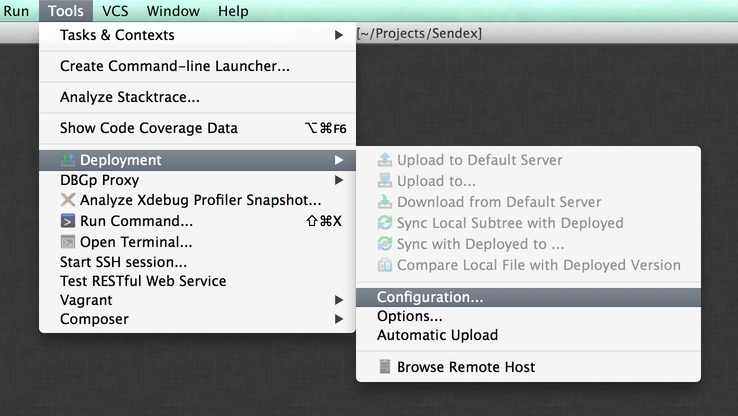
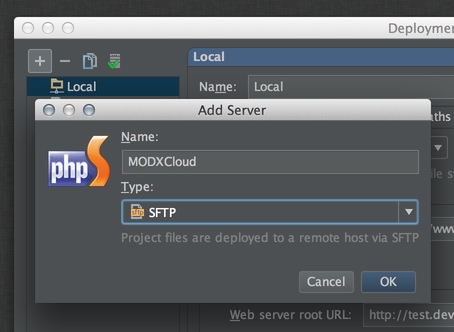
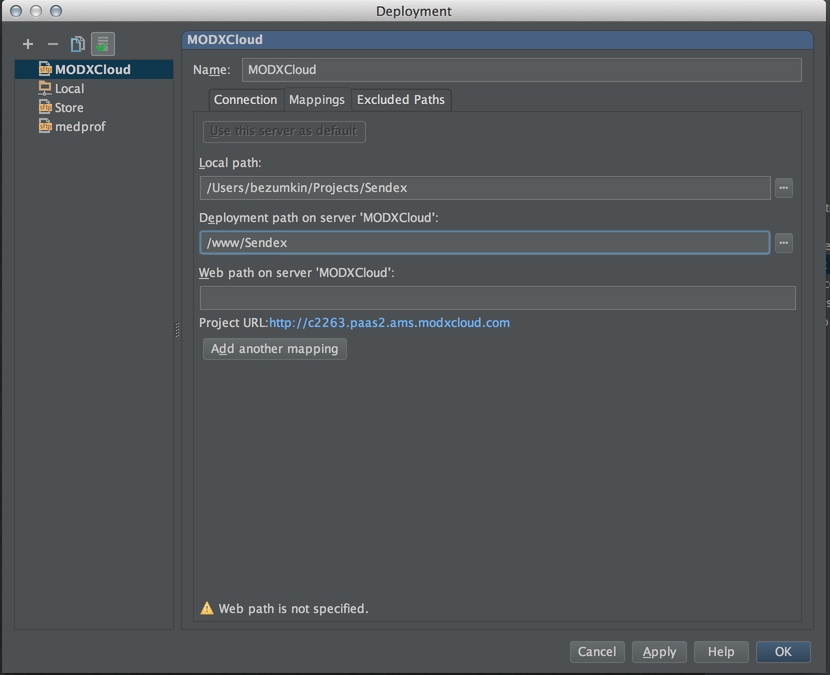
Next we set up communication with the server. This is one of the most important moments in further work. Select in the menu: Tools → Deployment → Configuration, add a new server and drive in data from MODXCloud:
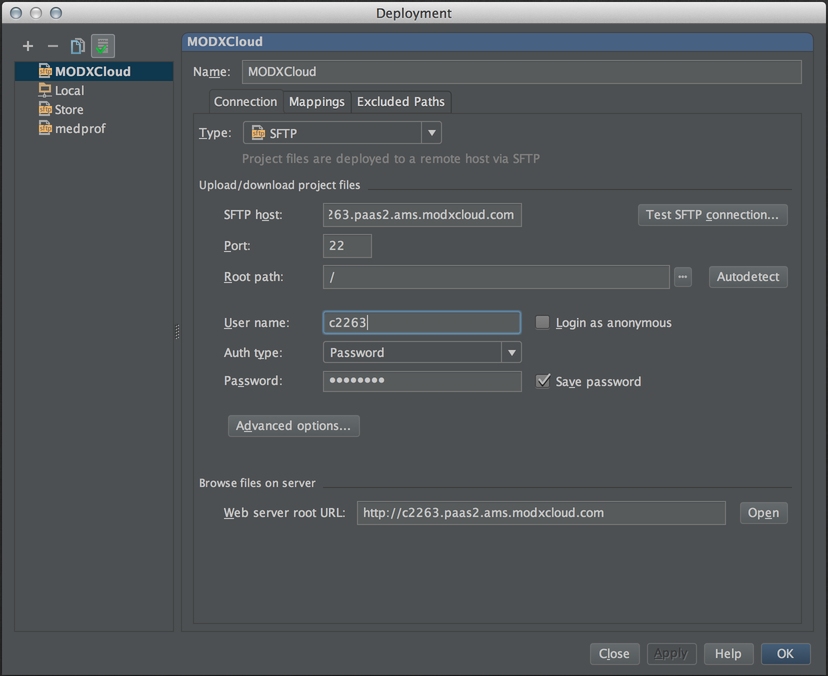
Do not forget to answer the green check mark in the upper left corner of the window so that our new server will become the default for this project. Also, after setting it is desirable to press Apply и Test SFTP connection.
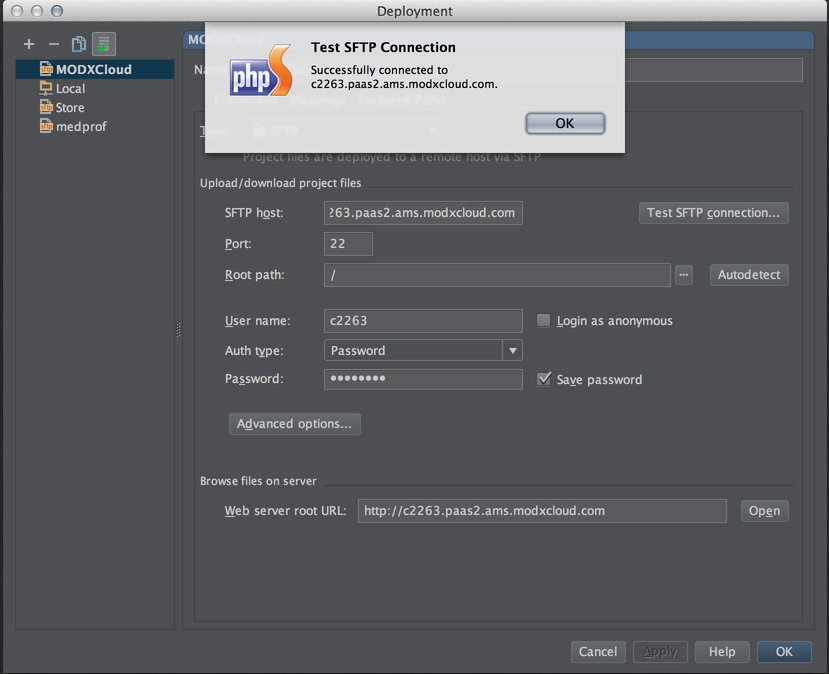
If we see the word successfully, then everything is fine.
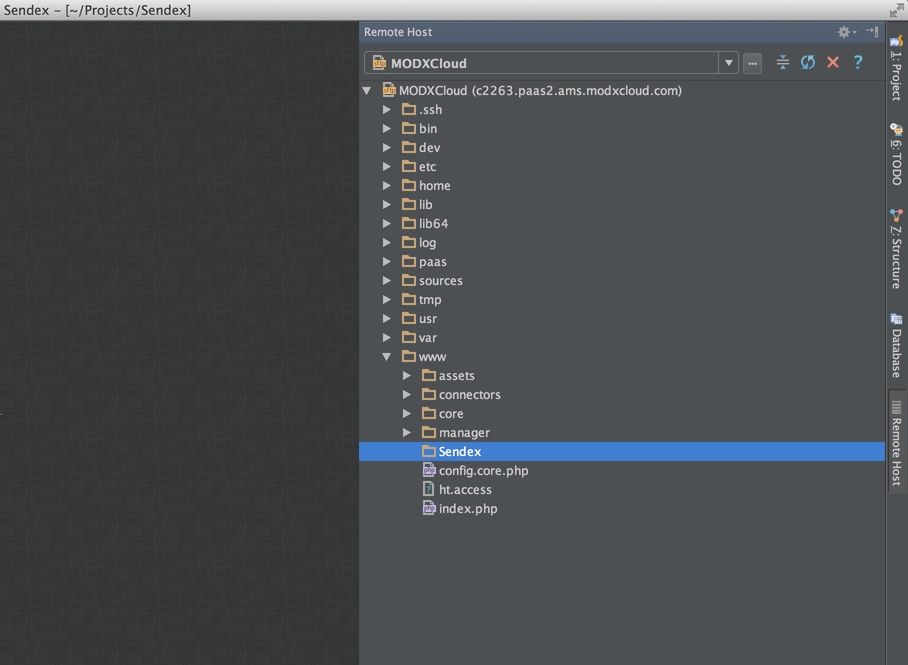
From this moment we can safely work with files and directories on the server. To do this, find the tab Remote host on the right and click. In the www directory is our site where you can create a directory Sendex.
Now the second important point is that we need to set up synchronization between the remote directory Sendex and the local project. This is done in the same place in the Deployment settings, Mapping tab:
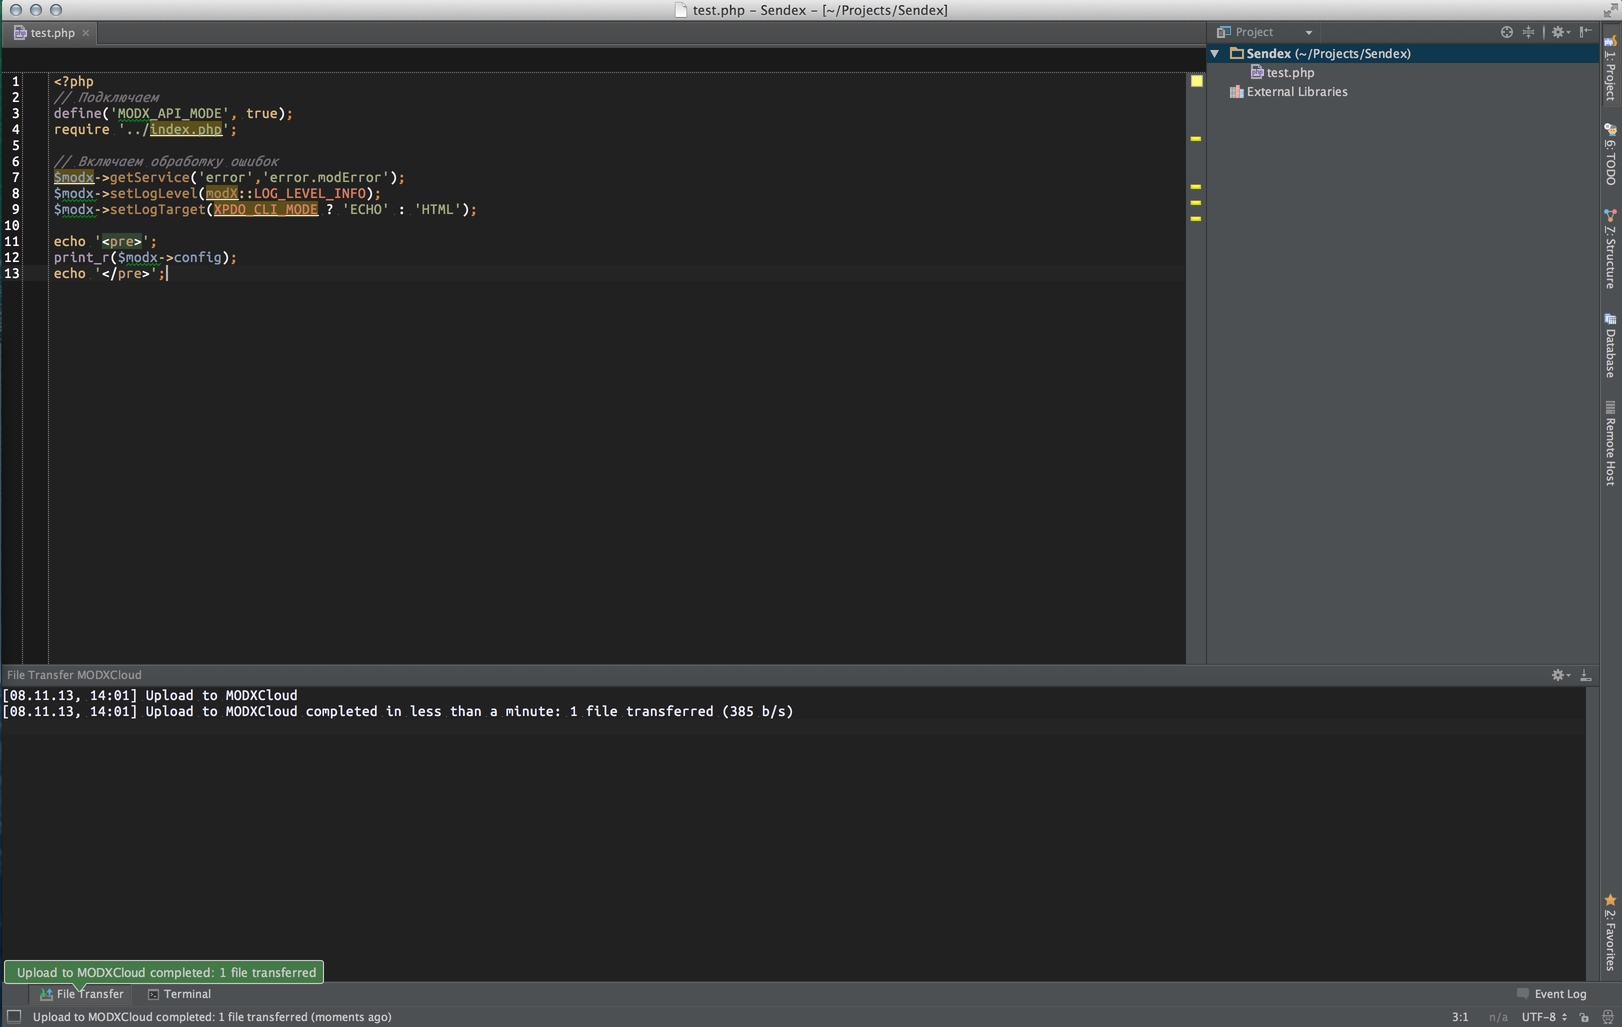
Create a file test.php in the project and copy the code there for verification:
<?php
// We connect
define('MODX_API_MODE', true);
require '../index.php';

// Enable error handling
$modx->getService('error','error.modError');
$modx->setLogLevel(modX::LOG_LEVEL_INFO);
$modx->setLogTarget(XPDO_CLI_MODE ? 'ECHO' : 'HTML');

echo '<pre>';
print_r($modx->config);
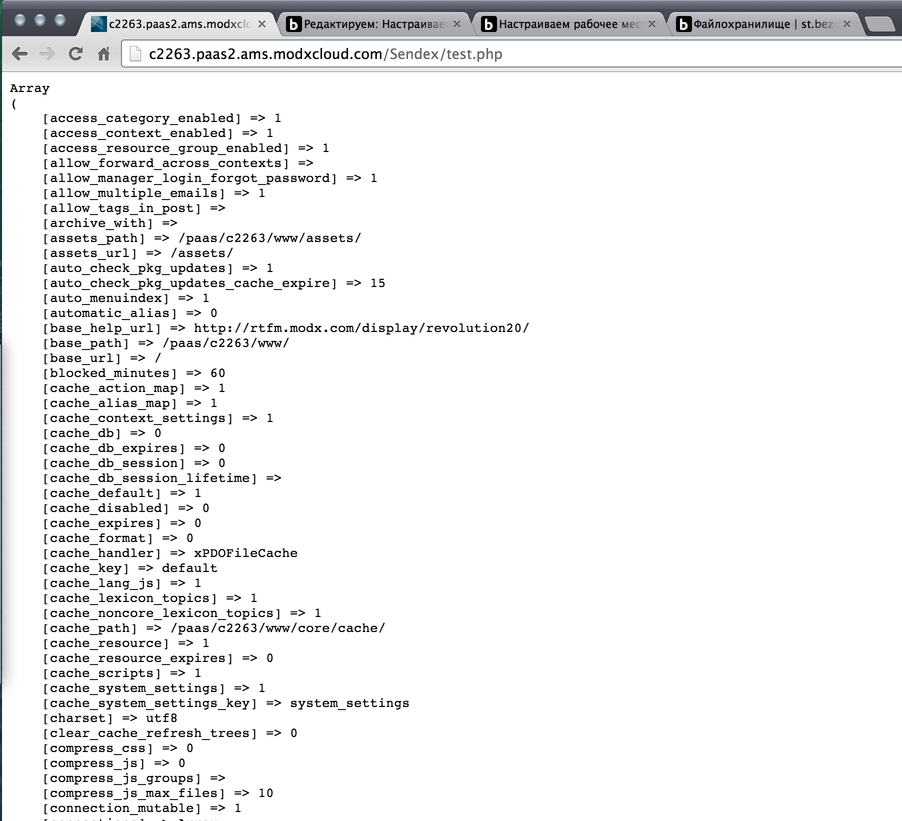
Now you need to synchronize the project with a remote server using the context menu. Immediately after uploading the file, we can launch it on the server by reference c2263.paas2.ams.modxcloud.com/Sendex/test.php
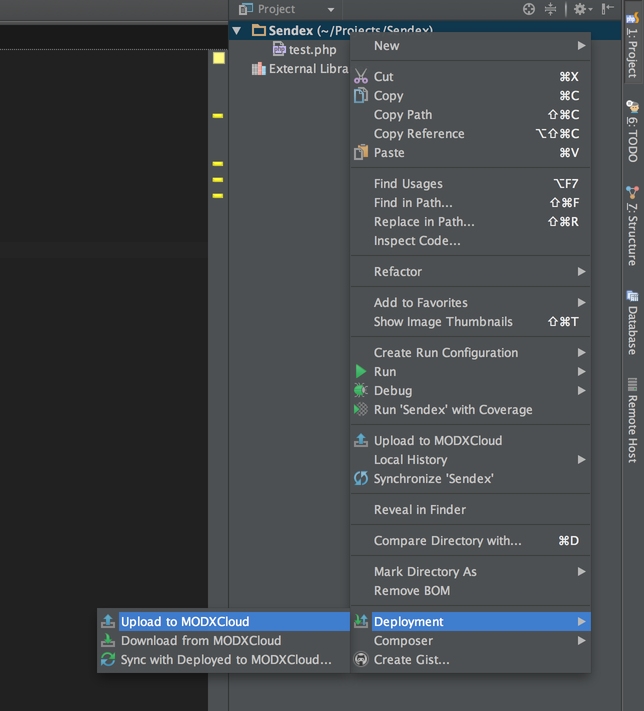
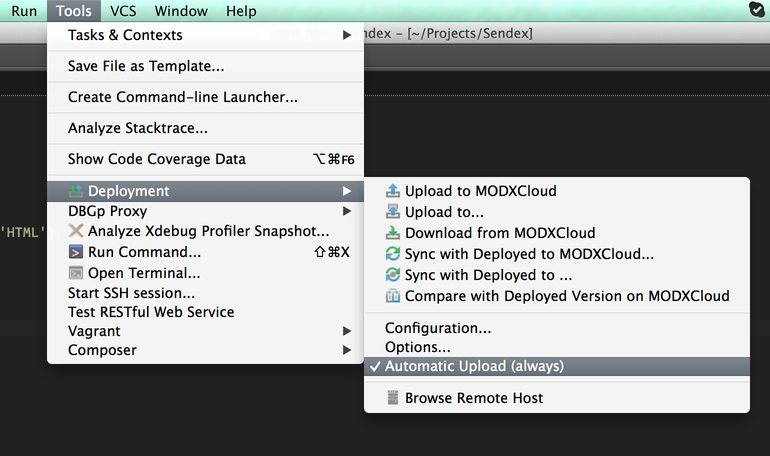
Personally, I always turn on automatic synchronization so that files are updated when I click Ctrl+S.
As you can see, we are already working with the MODX kernel from this file, which is in our project and synchronized with the remote directory.
One snag - in the editor, everything somehow looks ugly and swears at undefined variable 'modx':
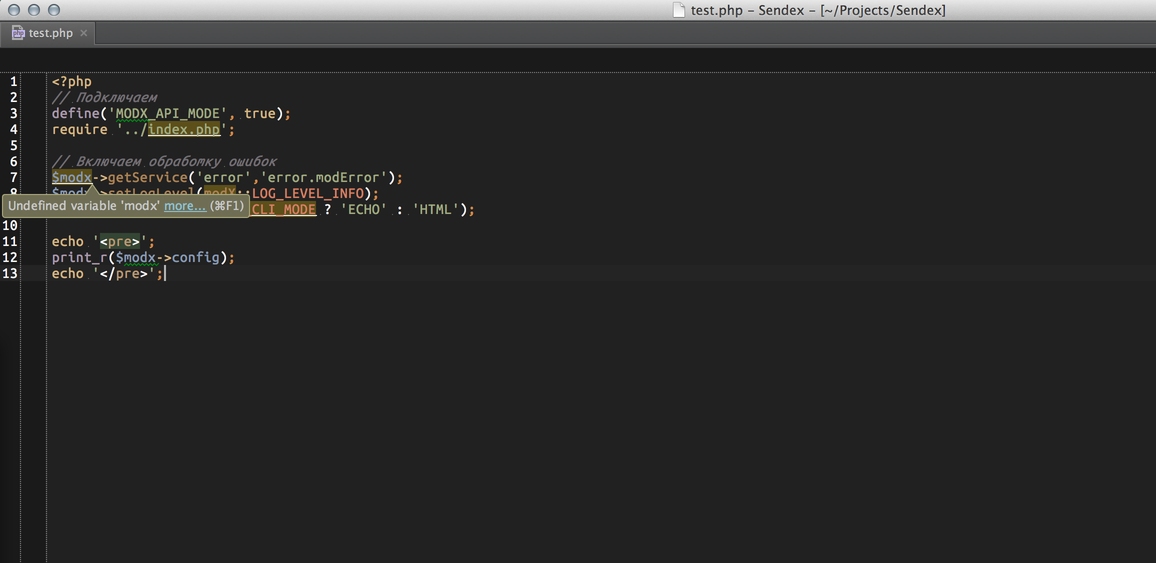
This is because PhpStorm does not know MODX from the box, and we need to connect it to the project. Then IDE will index files and learn to understand the declared variables and their methods.
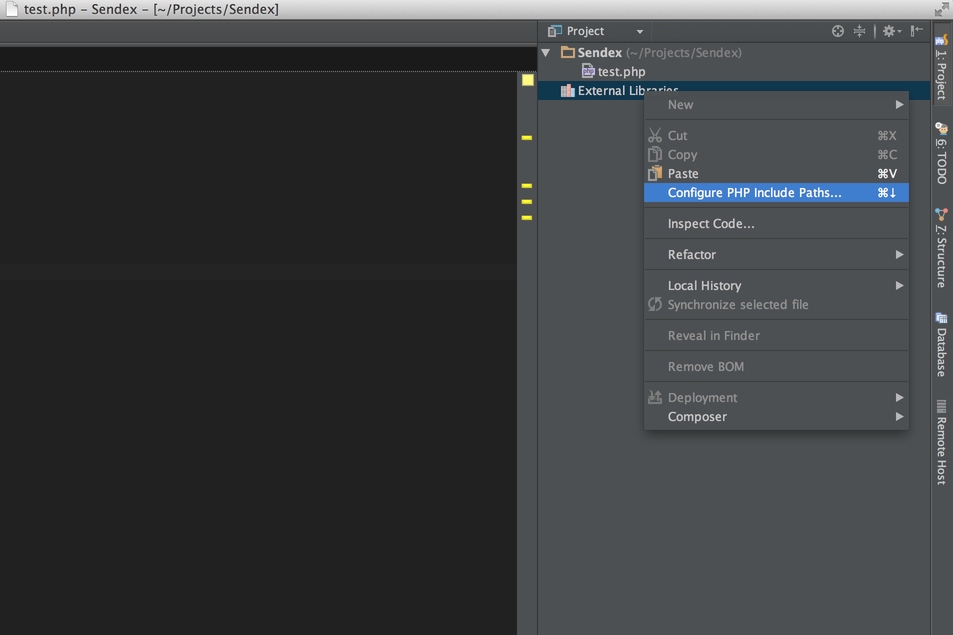
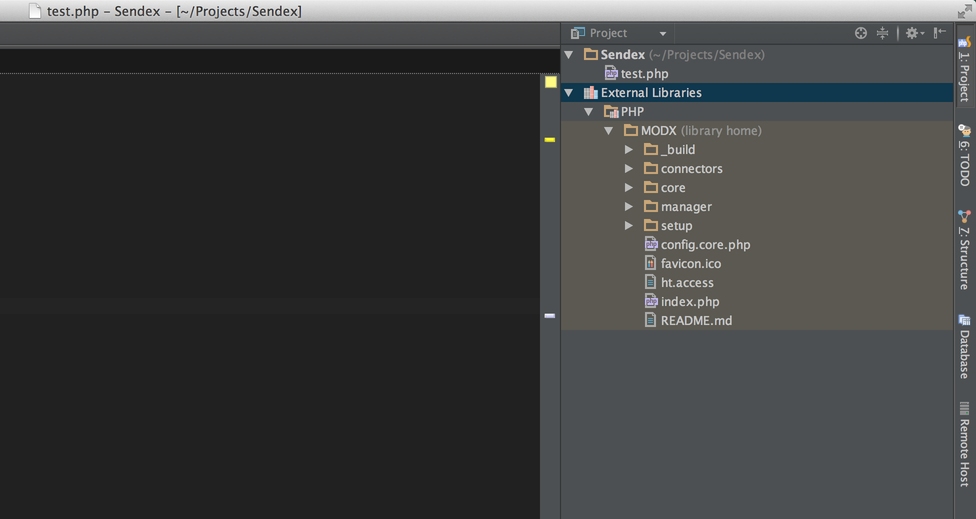
You need to download the latest version of MODX Revolution from the official site, unpack somewhere on your computer and connect to the project via the context menu External Libraries in the project files window:
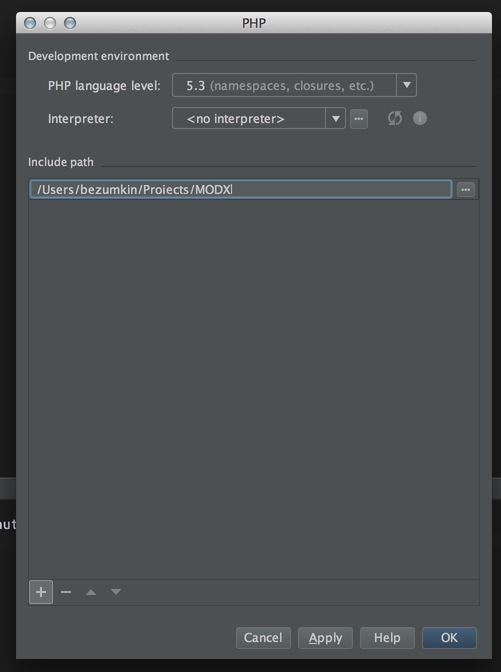
Click to save and all errors, except the inability to open the index.php file, disappear. We don’t have this file in the project - it is on the server, so just ignore it.
Please note that after connecting MODX to the project, we see all its methods when typing - the magical PhpStorm begins to prompt us.
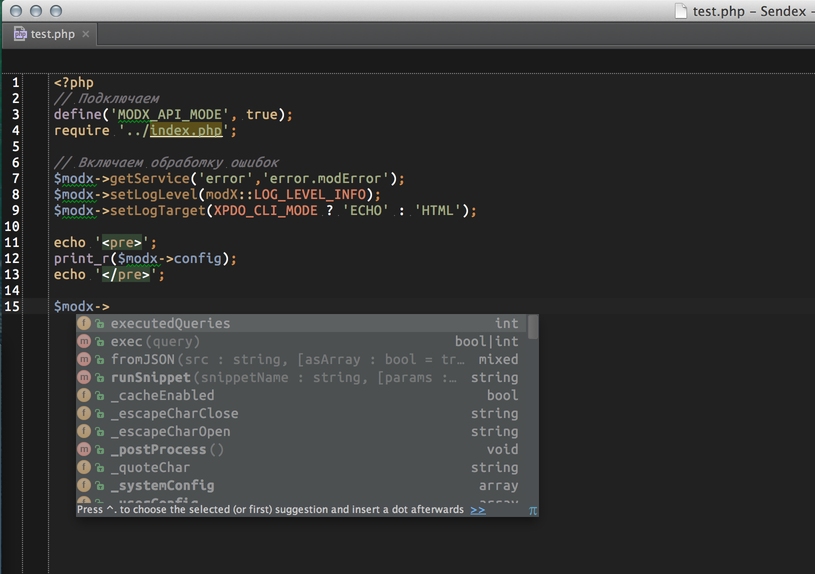
Moreover, by methods and variables you can navigate by simply clicking on them. Ctrl+B.
Conclusion
So, we created hosting, created a project, set up IDE and file synchronization. The right working environment is very important, it depends on comfort and pleasure during the development.
In the next lesson, we will clone modExtra from the repository and analyze its structure.
Support the team building MODX with a monthly donation.
The budget raised through OpenCollective is transparent, including payouts, and any contributor can apply to be paid for their work on MODX.
Backers
Budget
$248 per month—let's make that $500!
Learn more